
SMSProbe Operation Guide
1.Activate SMSProbe
Background URL:https://www.innopaas.com/control/login; Enter the background and activate SMSProbe
1.Activate SMSProbe
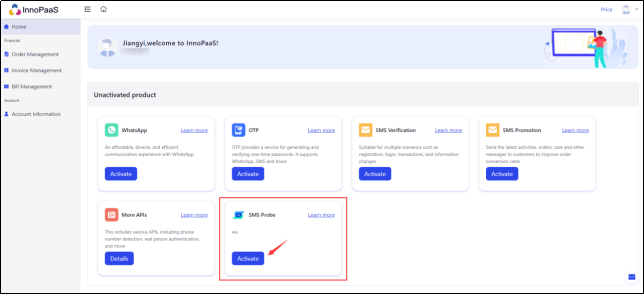
Enter the home page, find SMSProbe, click 【Activate】to activate; as shown in Figure (1-1.1).
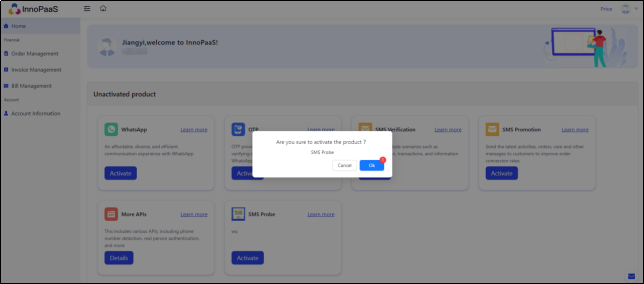
Click➊【OK】 to activate; As shown in Figure (1-1.2)
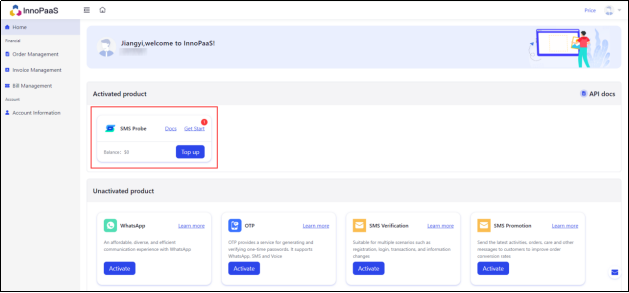
After activation, you can find the entry on the home page,click➊【Get Start】to enter; As shown in Figure (1-1.3).
2.Quickly Create SMS Tests
1.Create SMPP
As shown in Figure (2-1.1), switch to 【SMPP&Suppliers】and click the right button 【Create Session】

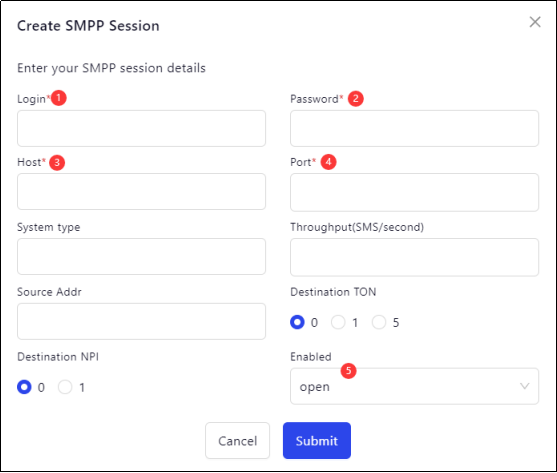
After clicking the button, the following pop-up window appears, enter the required configuration content in the pop-up window, as shown in Figure (2-1.2):
Required fields:
➊for SMPP account;➋for SMPP account password;➌fill in the SMPP server domain name or IP address;➍fill in the port number;➎select open; then OK to submit。
2.Create Supplier
Click【Add Supplier】 on the right side of the content of the SMPP just created as shown in Figure (2-2.1);
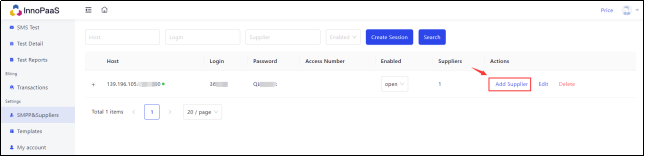
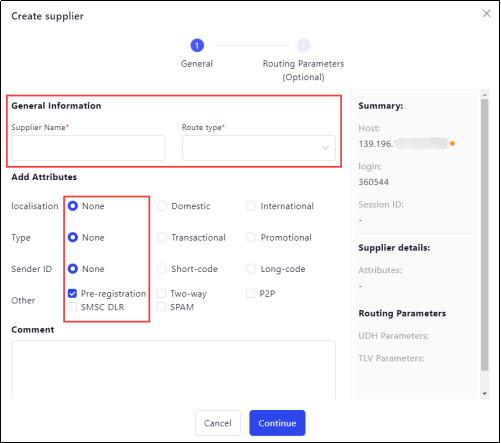
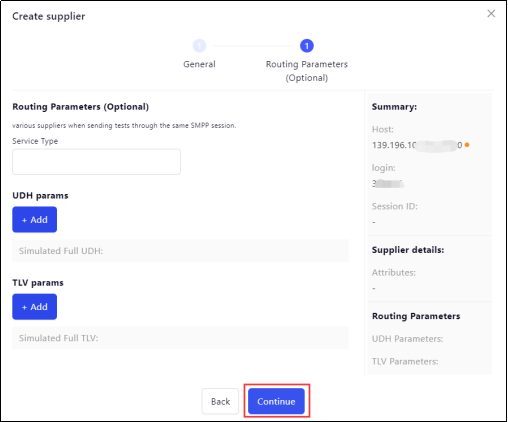
Enter the supplier information in the pop-up window as shown below (2-2.2):
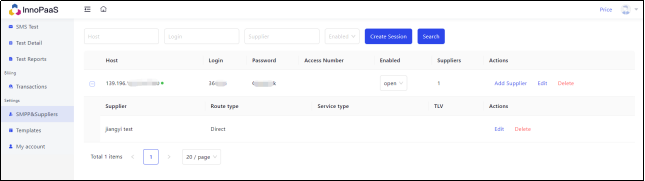
When creation is complete, the list displays the SMPP and supplier information. The following figure (2-2.4):
3.Execute the SMS test
As shown in the following figure (2-3.1):switch to the 【SMS Test】page,➊Enter the sender ID and SMS content — ➋Select the country/network — ➌Select the suppliers — ➍Execute the test

PS:This page is explained in more detail below
3..SMS test page function details
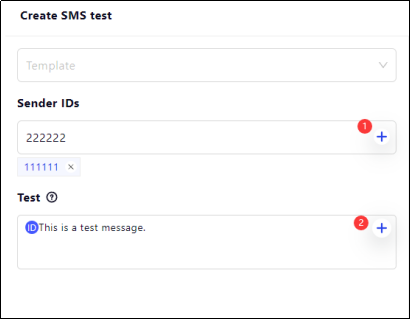
1.Add sender ID and create SMS content;
As shown in the following figure (3-1.1):➊[+] sign represents that multiple sender IDs can be added at the same time; ➋[+] sign represents that new contents need to be sent。
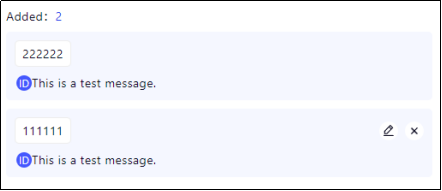
In the above figure, after adding 2 sender IDs and adding 1 new test content, the same content corresponding to each of the 2 IDs will be displayed below, as shown in Figure (3-1.2):
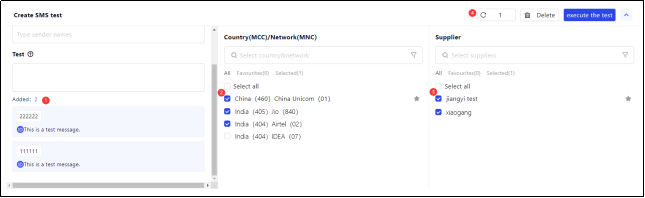
2.View and confirm the number of sent SMS;
Check the following figure (3-2.1):➊ 2 SMS have been added,➋ 3 MCCs have been selected,➌ 2 suppliers have been selected,➍ stands for Repeat Execution, which is shown here as 1。So the number of SMSes sent as shown in the figure is 2x3x2x1 = 12.
So the final number of SMS sent is the result of multiplying the number of contents, the number of countries selected, the number of providers, and the repeat executions.
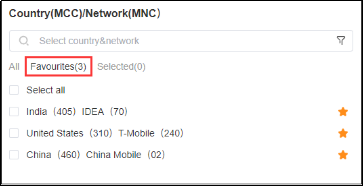
The five-pointed starin the list of countries/networks and suppliers represents a favourite, so that you can find it next time. The favourites will turn yellow and will be displayed in the favourite column, as shown in Figure 3-2.2:
3.List data details
See Figure 3-3.1 below
➊DLR/Rec Status:Indicates successful sending;Indicates that it has received;Indicates not sent/in progress;Indicates not received;Indicates a transmission failure;indicate unknown
➋The sender ID is displayed in different colours: black means that the SMS has not been received; red means that the SMS has been received and the content has been modified;
Green means that the SMS has been accepted and the content has not been modified;

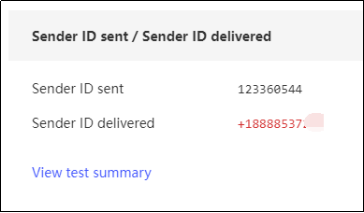
Click to enter the pop-up window diagram (3-3.2): The red in the column of actual sender ID represents that the operator has tampered with the sender ID during the actual sending of the SMS, and the green represents that the sender ID has not been altered;
➌Different colours in the message content:Black indicates that the SMS was not received;Red indicates that the content of the SMS has been tampered with by the operator during delivery,Green indicates that the SMS has been accepted and the content has not been modified;
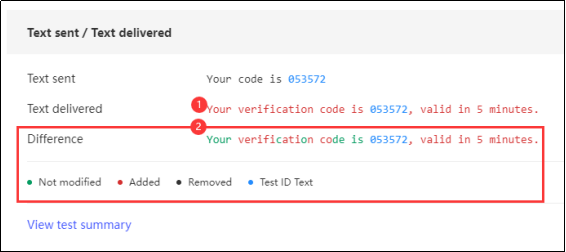
Click to pop-up chart(3-3.3):
- The received text at➊has two colours, red for content changed and black for unchanged;;
- The content of ➋,the different colours correspond to the colour hints below
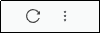
➍ operation icon,Figure(3-3.4):The first represents the refreshed state, the second click goes to the test summary chart (3-3.5).:

4.Create Templates
1.Create Content Templates
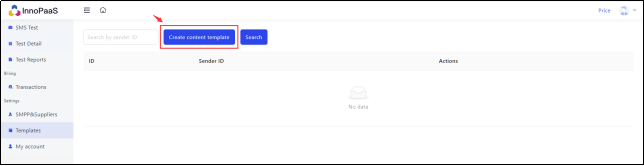
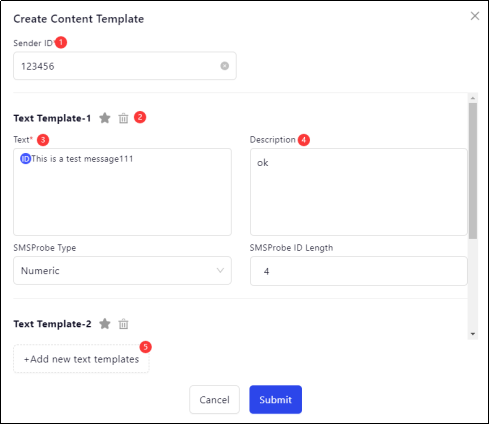
Click the button 【Create content template】 as shown below (4-1.1):
The pop-up window for clicking the button is shown below (4-1.2)
➊Enter the sender ID ,
➋Can be bookmarked and deleted, and when bookmarked, it will be lit where the template is selected;
➌Enter the text content;
➍enter the description content;
➎Under the same sender ID, add a new test template。
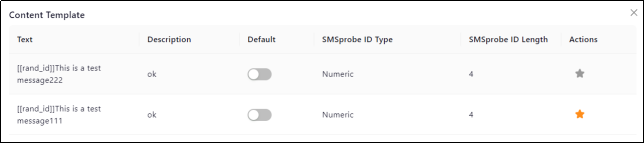
After saving the template, it will be displayed in the list as follows (4-1.3),Click➊,to see everything under this sender ID; Click➋to edit the template and delete the template

The following picture (4-1.4) has just been added: (tapping the favourite will light up the icon)
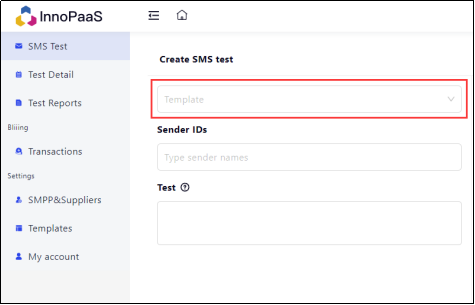
2.Use templates
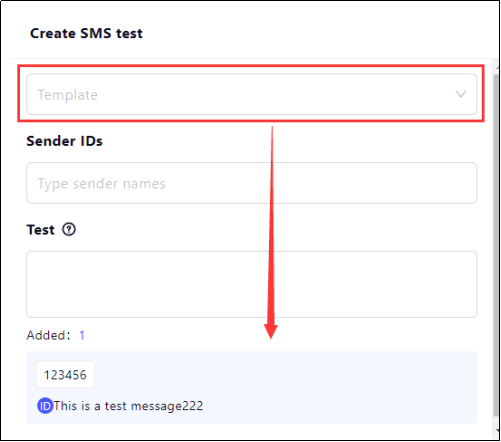
After creating a good template, in the SMS test page here, click【Template】 to go in and select the template you have created for use. Figure (4-2.1)
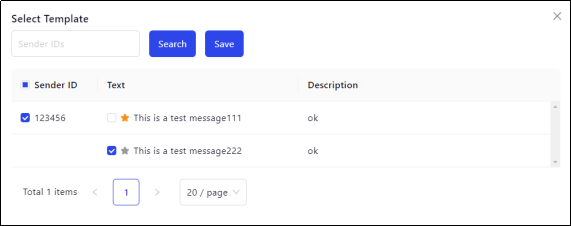
Select one in the popup window and save it. It can be added to the list directly in the test page, no need to input the sender ID and content additionally. Figure (4-2.2) and Figure (4-2.3) below.
5.View test details and test reports
1.Test details
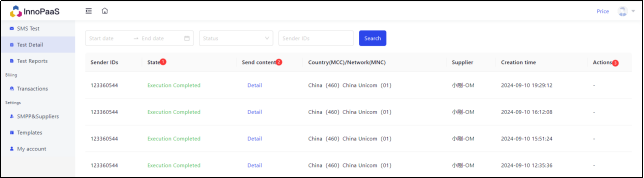
Enter the test details as shown in Figure (5-1.1).:
➊Check the execution status and see why it failed ;
➋View sent content;
➌Operation: can be re-executed if execution fails;
2.Test Report
Go to the test report and filter type as shown in Figure (5-2.1):
➊View DLR Status ;
➋Check the reception status; the quality of the channel in that country can be analysed through the report。

6.My Account
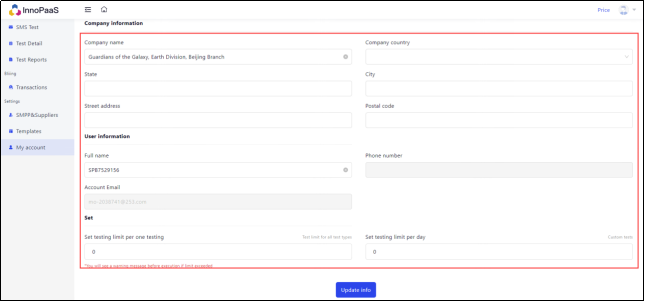
1.Edit my account information
Confirm the editing and click Save. The following figure (6-1.1)
Updated 5 months ago